How to Plan a Garden Layout: A Beginner's Method

Garden design writer at FlorAI
Updated · 9 min read
To learn how to plan a garden layout, work through five steps in order: measure the space and draw it to scale, map where the sun falls through the day, decide where people actually need to walk, shape beds and borders around those paths, and only then choose the planting. Almost every layout that feels wrong was planned backwards — plants chosen first, paths and sun checked last — so the fix is rarely the plants themselves, it is the order they were added in. FlorAI is used as the working example throughout this guide for testing a layout on a photo of a real garden before anything gets dug.
How to Plan a Garden Layout: What Order Do You Follow?
Five things have to be settled, and they have to be settled in this order, because each one constrains the next: the site itself (its boundaries, slope and existing structures), the sun (which parts are warm and bright and which are cold and shaded), circulation (where feet, wheelbarrows and mowers actually need to go), the shape of the beds that are left once the paths are drawn, and finally the plants that fill those beds. Choosing plants before any of the first four steps is the single most common reason a finished garden feels wrong — not because the plants were bad, but because they were asked to solve a problem before the problem was defined.
This sequence follows from how a garden actually gets used. A path decided after the beds are dug usually cuts across a border or forces an awkward detour around a shed. A planting scheme chosen before the sun is mapped usually puts a shade-loving fern on a baking south wall. Working in order removes most of the guesswork later — it is the same order a landscape designer follows on a paid job, done here with a tape measure, a pencil, and optionally an AI garden design app to check two or three layouts against a photo before committing to one.
How Do You Survey and Measure a Garden First?
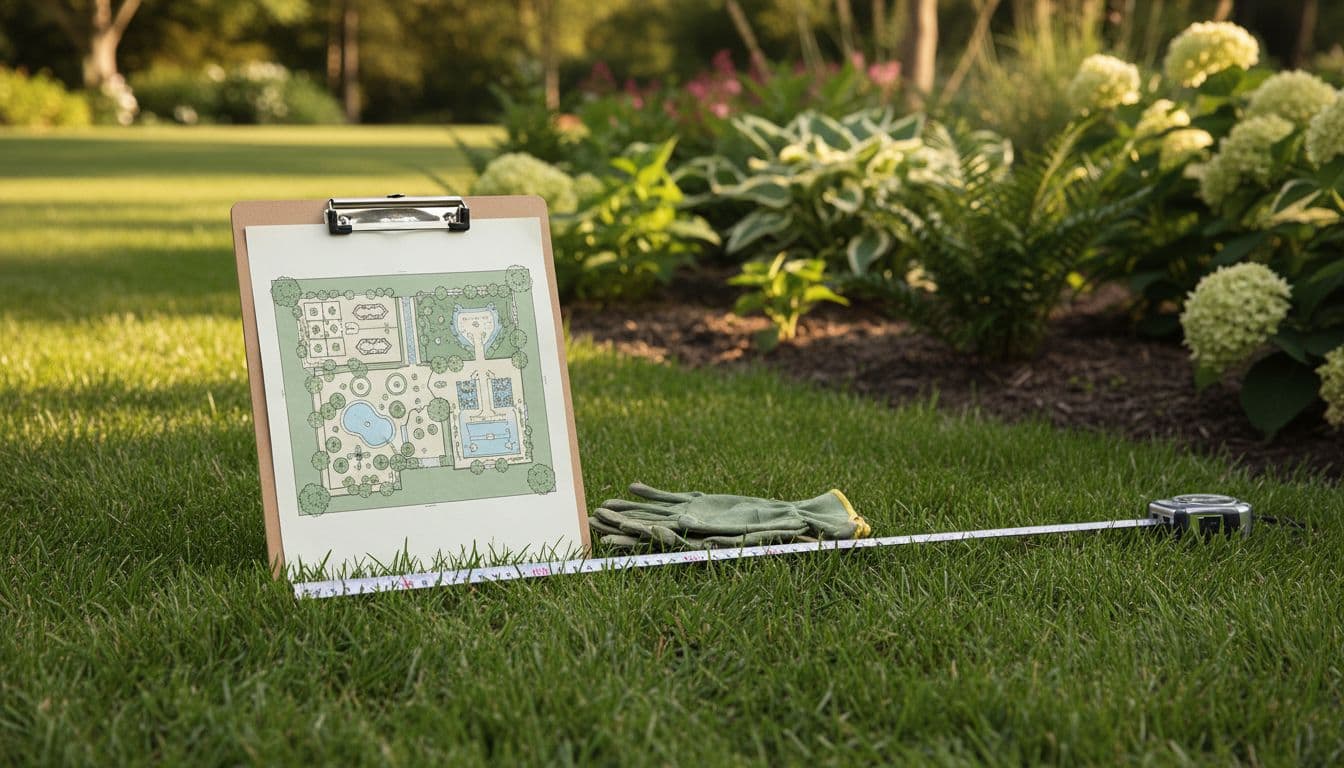
Before any layout decision, you need an accurate outline of what you are working with. That means the outer boundaries, anything fixed that cannot move — a mature tree, a manhole cover, a drain, a shed, a boundary wall — and the garden's overall shape, which is rarely a clean rectangle. A rough sketch invites rough decisions later; a plan drawn to scale lets you test a layout on paper before you test it with a spade.
- Walk the boundary with a long tape measure (or pace it out and convert to metres or feet) and note the length of each side, including any offsets where a fence line steps in or out.
- Mark the position of everything fixed: doors, downpipes, manholes, existing trees, overhead cables, and any wall or fence that will stay. These become the constraints every later decision has to work around.
- Note the slope, even roughly — which end is higher, and by how much a level (or a simple string-and-spirit-level check) suggests. Water always ends up at the low point, so this affects both drainage and where a patio can sit level.
- Transfer the measurements onto graph paper at a fixed scale, or into a simple photo-based tool, so that a bed or path drawn on the plan corresponds to a real distance in the garden.
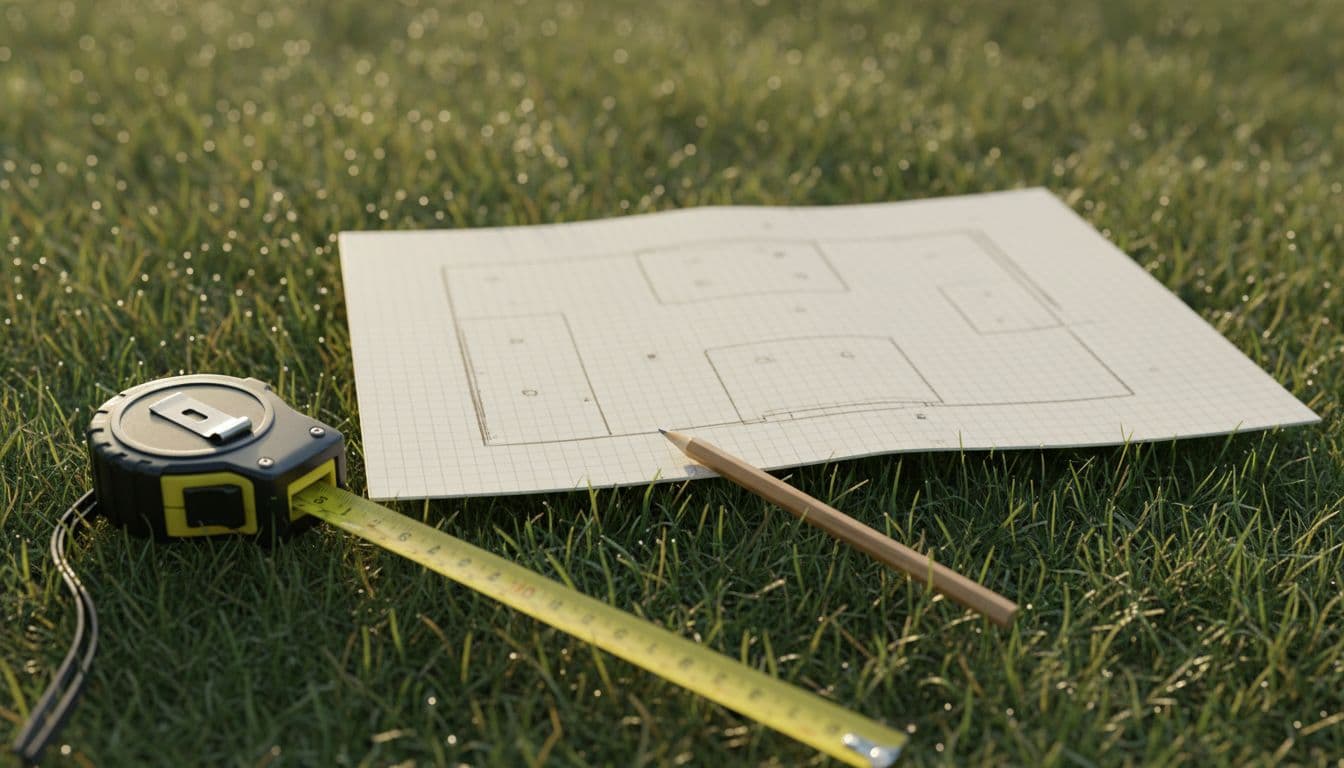
This matters even for a small garden. A plan a few centimetres out barely matters on a two-hectare estate; on a 30-square-metre courtyard it is the difference between a path that fits a wheelbarrow and one that does not. If drawing to scale by hand feels like the hardest part, a photo shot from a doorway or a corner rather than the middle of the lawn does a similar job: it fixes the real fence line, wall height and paving in place, which is what a photo-based AI garden design app like FlorAI uses as the starting point for a redesign, rather than a generic template.
How Do You Map Sun and Shade Across a Garden?
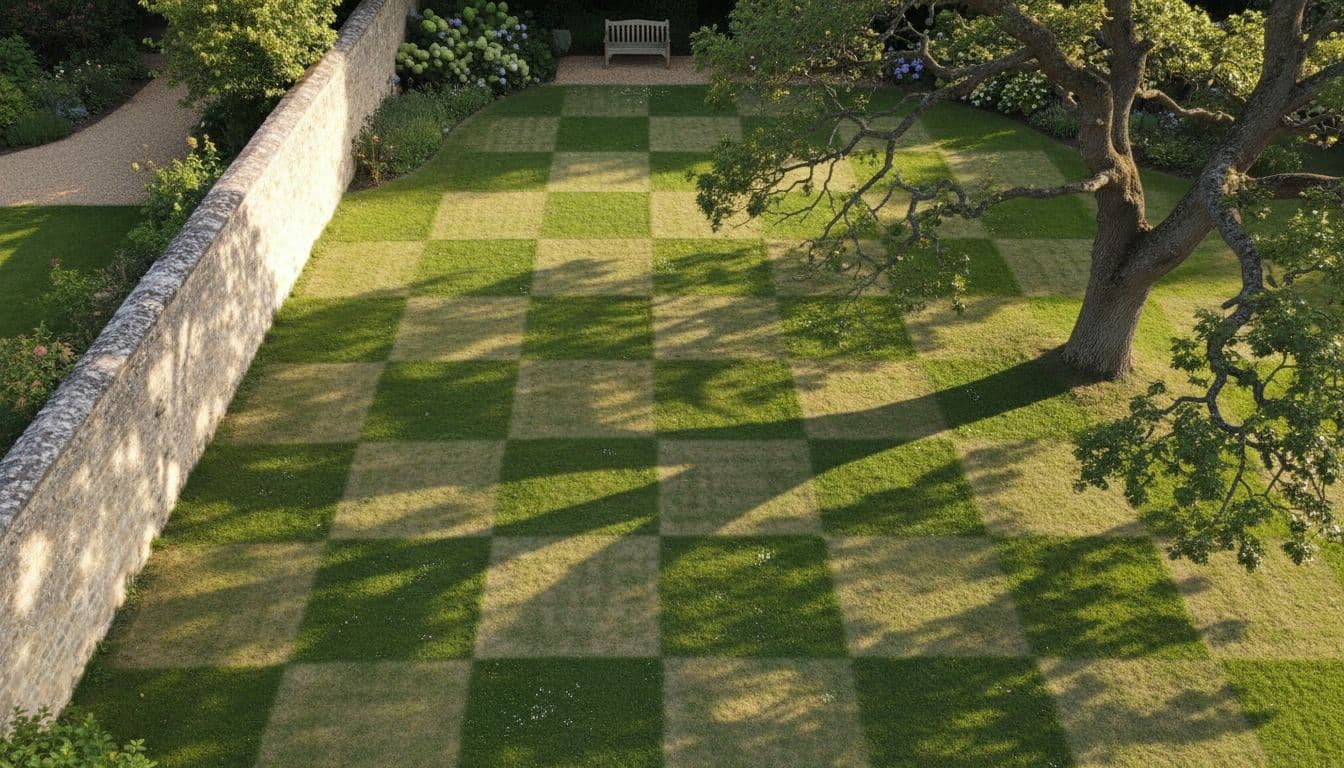
Aspect decides more of a layout's success than any other single factor, because it decides which plants, and which uses, work in which part of the garden. The Royal Horticultural Society's guidance is direct on this: south- and west-facing areas usually receive the most sunlight and suit sun-loving plants, while east- and north-facing areas receive far less light, and only at the times of day when the sun is weakest. Very few gardens are uniformly one aspect throughout, since a neighbouring building, fence or mature tree can put part of an otherwise sunny garden into shade for some or all of the day.
A simple sun map makes this visible instead of assumed. On a spare copy of the scale plan, mark which areas are in full sun, partial shade and full shade at a few points during the day — mid-morning, midday and late afternoon — on a clear day. Because deciduous trees change how much shade they cast between summer and winter, it is worth repeating the check, even informally, at a different time of year if the layout is meant to work all year round. The result is a map that tells you, before a single path or bed is drawn, roughly where a seating area gets the evening sun, where a vegetable bed would actually get enough light, and where a shade-tolerant planting scheme will be needed regardless of what looks good in a photo.
Where Should Paths and Circulation Go First?
Circulation should be decided before a single bed is shaped, because a path only works if it follows a route people would take anyway. A path needs a destination — a gate, a door, a shed, a seating area — and the most credible route is usually the straightest one that still respects what is already fixed on the site. A pretty curve that steals width from the route people actually walk gets ignored within a season; the grass wears a straight track through the lawn next to it instead.
- A single-file path used occasionally can work at around 60cm (2ft) wide, but anything narrower forces a sideways shuffle past planting.
- A path expected to take a wheelbarrow or a mower comfortably needs roughly 75–90cm (2.5–3ft) of clear width, plus a little extra so planting does not immediately encroach on it.
- A main path that two people will walk along side by side, or that leads to a front door, generally wants at least 1.2m (4ft).
- Curves are fine, and often desirable, but they should follow something real — the edge of a lawn, a contour, the swing around a fixed tree — rather than being decorative wiggles that add distance without adding a reason.
Deciding circulation first also settles a question that trips up a lot of layouts: how many separate zones the garden actually needs. A path drawn early naturally divides the space into the areas it connects — a seating zone near the house, a planting zone along a boundary, a utility zone by a shed — which becomes the outline the beds are then shaped around, rather than an afterthought squeezed between plants that were placed first.
How Do You Shape Beds and Borders Around the Paths?
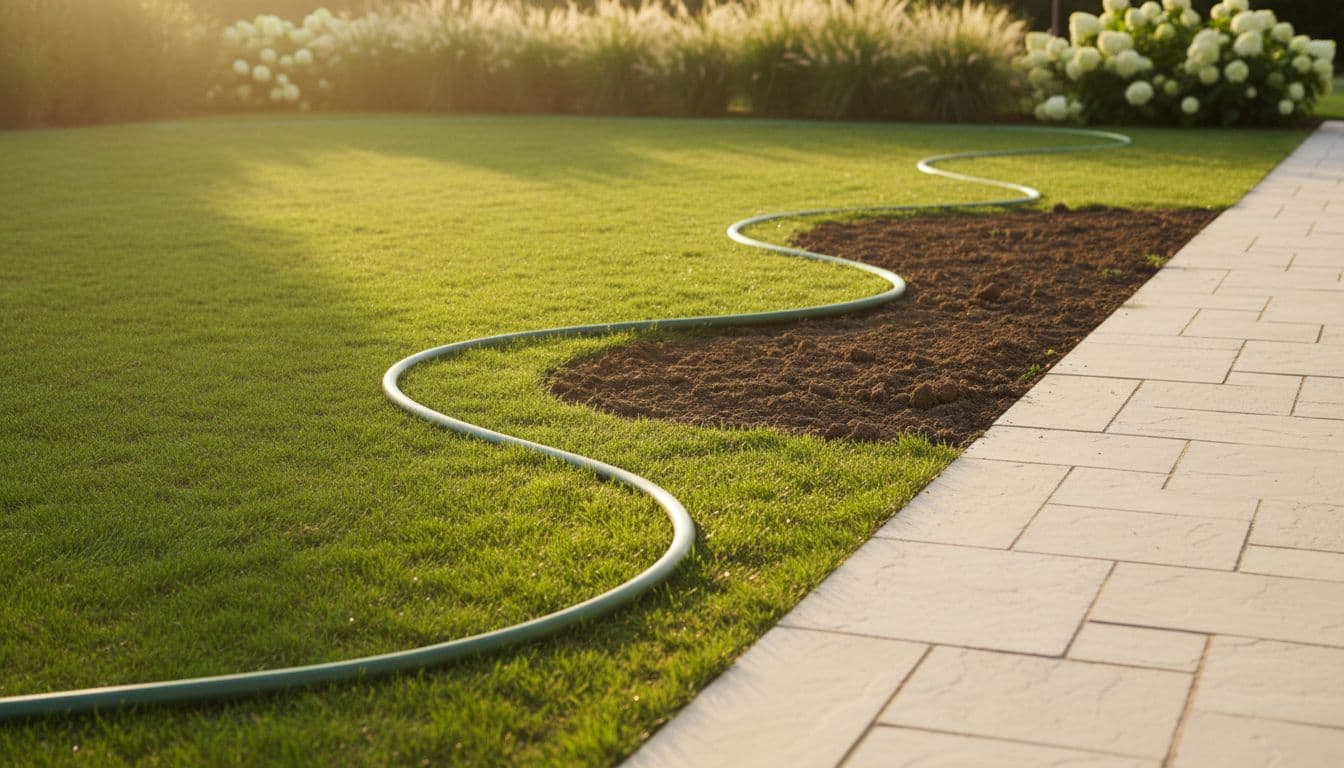
Once circulation is fixed, the beds are simply whatever space is left, shaped to work with it rather than against it. A border running along a boundary fence or wall is the simplest and most reliable shape for a first garden, because it reads clearly from the house and is straightforward to maintain from one side. An island bed — a bed that can be walked around and viewed from every side — suits a larger lawn or a garden where the bed itself becomes a destination, but it needs a path or a clear sightline connecting it to the rest of the garden, or it ends up looking stranded.
Curved bed edges generally look more natural than straight ones on an organically shaped plot, but a curve only reads as intentional if it is consistent — following the same radius or a repeated rhythm — rather than random. It also helps to keep a curved bed edge outside the line of an established path rather than nibbling into it, since the path's width was already set for a reason. Whatever the shape, measuring the resulting area in square metres (or square feet) at this stage, before choosing a single plant, is what turns the next step from guesswork into an actual order.
How Can You Test a Layout Before You Dig?
A plan on graph paper is honest about distances but hard to picture; a photo-based AI garden design app closes that gap by showing what a proposed path, bed shape or planting scheme would look like against the real garden, before anything is disturbed. The useful test: upload one photo of the actual space, generate two contrasting layouts from it, and check that the real fence, wall and paving are still recognisable in both. If they are, the app is working from the site rather than replacing it with a generic scene, which is what the survey and sun-mapping steps were done to protect.
FlorAI's before-and-after comparison view is built for exactly this: the original photo and the redesign sit side by side, so a proposed path or bed shape can be checked against the boundaries, slope and sun exposure already established on paper, rather than judged as a picture on its own. Because the whole exercise runs from one phone photo, it takes a few minutes to compare two or three layout ideas, which is considerably faster than digging one and deciding it was wrong. If the budget question is whether to stop at this stage or bring in a professional, AI garden design vs hiring a landscape designer sets out what each route is actually good for.
Test your garden layout on your own photo, free
Upload one photo of your actual garden and generate two layout ideas to compare against it. Your first AI garden design with FlorAI is free, on iPhone, Android and the web.


Version 1.1.1 · 132 MB
What Order Should the Planting Itself Be Planned In?
Planting is the last decision, not the first, and it has its own internal order. Structural, mostly evergreen plants go in first, because they form what garden designers call the "bones" of a border — the shapes that hold the space together once herbaceous perennials have died back for winter. A widely used rule of thumb for a beginner planting scheme is to keep roughly 60 to 80 percent of it evergreen, precisely so the garden does not look bare from November to March. Once that structure is placed, herbaceous perennials and smaller deciduous shrubs go in around it, ideally in grouped odd numbers of the same variety, since planting singly tends to look scattered rather than deliberate.
- As a rough planting density guide, allow about five herbaceous perennials, or three small shrubs, or one large shrub, per square metre (roughly 11 sq ft) of border.
- Position taller, bulkier plants toward the back of a border viewed from one side, and reserve the front for lower planting — though a few tall, slender, see-through plants can sit near the front without blocking the view behind them.
- Check any species against a hardiness zone map, such as the USDA Plant Hardiness Zone Map, and against the aspect established during sun mapping, before buying anything — a plant that suits the picture but not the climate or the light is the most common planting mistake.
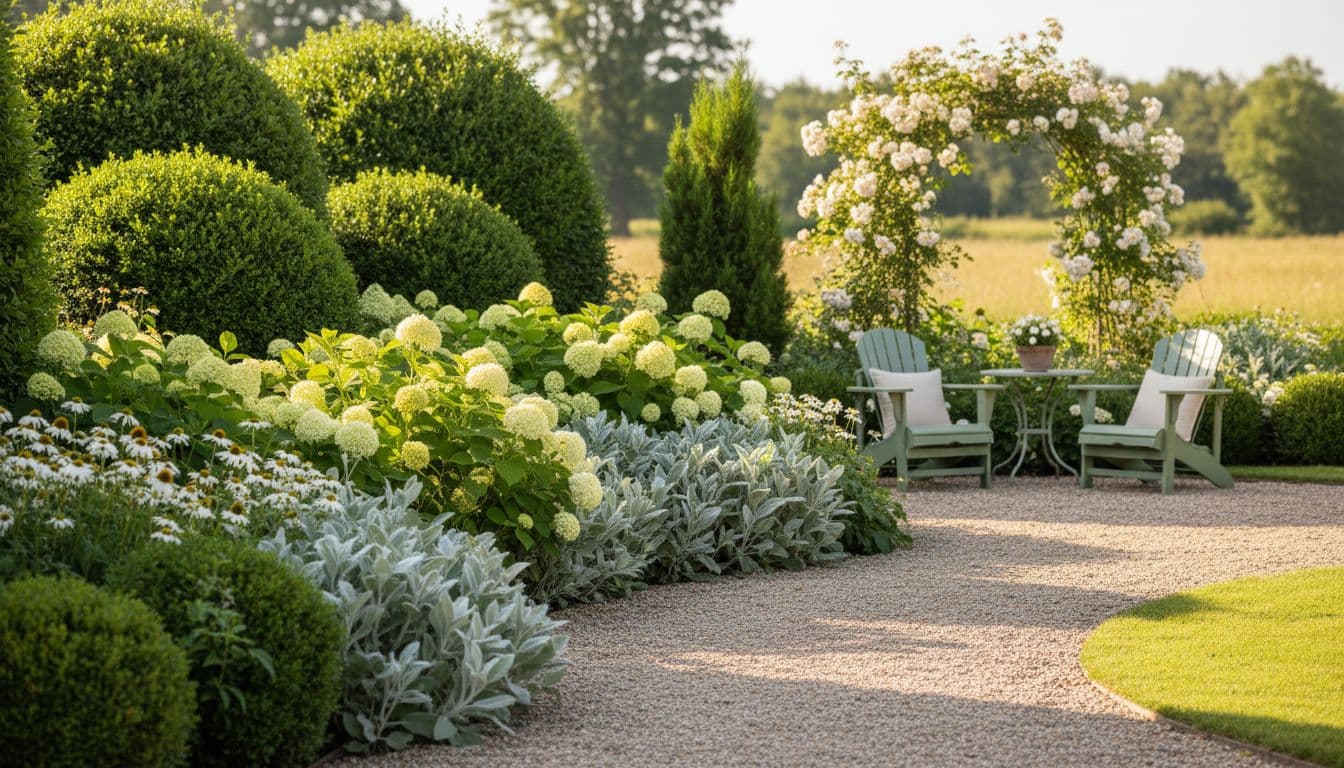
This is also the stage where an AI plant identification tool earns its place in the process, since a design only stays honest if the plants named in it actually exist and actually suit the site. FlorAI's AI Plant Scan identifies an unfamiliar plant or flower from a photo, and AI Plant Health flags a likely cause when something in an existing border is struggling, which keeps the planting decisions inside the same loop as the layout ones instead of becoming a separate research project.
Common Garden Layout Mistakes That Are Hard to Fix Later
Three mistakes account for most regretted layouts. The first is choosing plants before checking the sun, which leaves a border half-thriving and half-struggling within its first year. The second is drawing paths after the beds are dug, which either forces an awkward curve around planting that should have moved, or leaves people cutting their own shortcut across the lawn regardless of where the path goes. The third is skipping the scale drawing and working from instinct alone — fine for a container or two, but on a full garden it reliably produces a path too narrow for a wheelbarrow or a bed too shallow for what was meant to grow in it.
A fourth, smaller mistake is treating the whole garden as one zone. A layout that separates a seating area, a planting zone and a utility corner, even loosely, tends to feel considered; one that spreads everything evenly across the space tends to feel like nothing was decided at all. If the space is a full backyard or front yard rather than a single border, how to redesign your backyard with AI goes through the same measure-photograph-generate sequence at that larger scale, and AI garden design for small backyard spaces covers the version of this problem that shows up hardest in a compact plot, where one oversized shrub or one badly placed path dominates the whole layout. The full range of styles this method can be applied to is on the garden style library page.
Frequently Asked Questions
What is the first step in planning a garden layout?
Measure and survey the garden first: record the boundaries, anything fixed like trees, drains or walls, and the slope, then transfer those measurements onto a scale plan or a photo of the space. Every later decision — sun mapping, paths, beds and planting — depends on that outline being accurate.
How wide should a garden path be?
It depends on use. A single-file path used occasionally can be around 60cm (2ft) wide, one that needs to take a wheelbarrow or mower comfortably wants roughly 75–90cm (2.5–3ft), and a main path meant for two people walking side by side generally needs at least 1.2m (4ft).
Should I plan paths or planting beds first?
Paths first. Circulation should follow the routes people actually take to real destinations — a gate, a door, a seating area — and the beds are then shaped around whatever space is left once those paths are fixed, rather than the other way round.
What percentage of a garden should be evergreen?
A widely used rule of thumb for a beginner planting scheme is to keep roughly 60 to 80 percent of it evergreen. Evergreen structure is what keeps a border from looking bare once herbaceous perennials die back for winter.
Can an AI garden design app help plan a layout?
Yes, as a way to test ideas quickly rather than replace the survey and sun-mapping steps. An app like FlorAI can generate two or three layout options from one photo of the actual garden, keeping the real fences and paving in place, so different path and bed arrangements can be compared before anything is dug.
Planning a garden layout is mostly a question of sequence: measure the site, map the sun, fix the paths, shape the beds around them, then choose planting that suits both the light and the space that is actually left. Skipping a step rarely saves time — it just moves the problem to later, when a plant, a path or a bed has to be redone. Testing two or three versions of a layout on a photo of the real garden, with a free tool like FlorAI or with a scale plan on graph paper, is the cheapest way to catch that problem before anything gets dug.
Sources
- How to plan a border — Royal Horticultural Society,
- Garden design — Royal Horticultural Society,
- 2023 USDA Plant Hardiness Zone Map — USDA Agricultural Research Service,
- Shrubs: evergreen for specific situations — Royal Horticultural Society,
- Garden design — Wikipedia,
Read next