
AI Garden Design From Photo: How It Actually Works
Updated September 1, 2026 · 9 min read
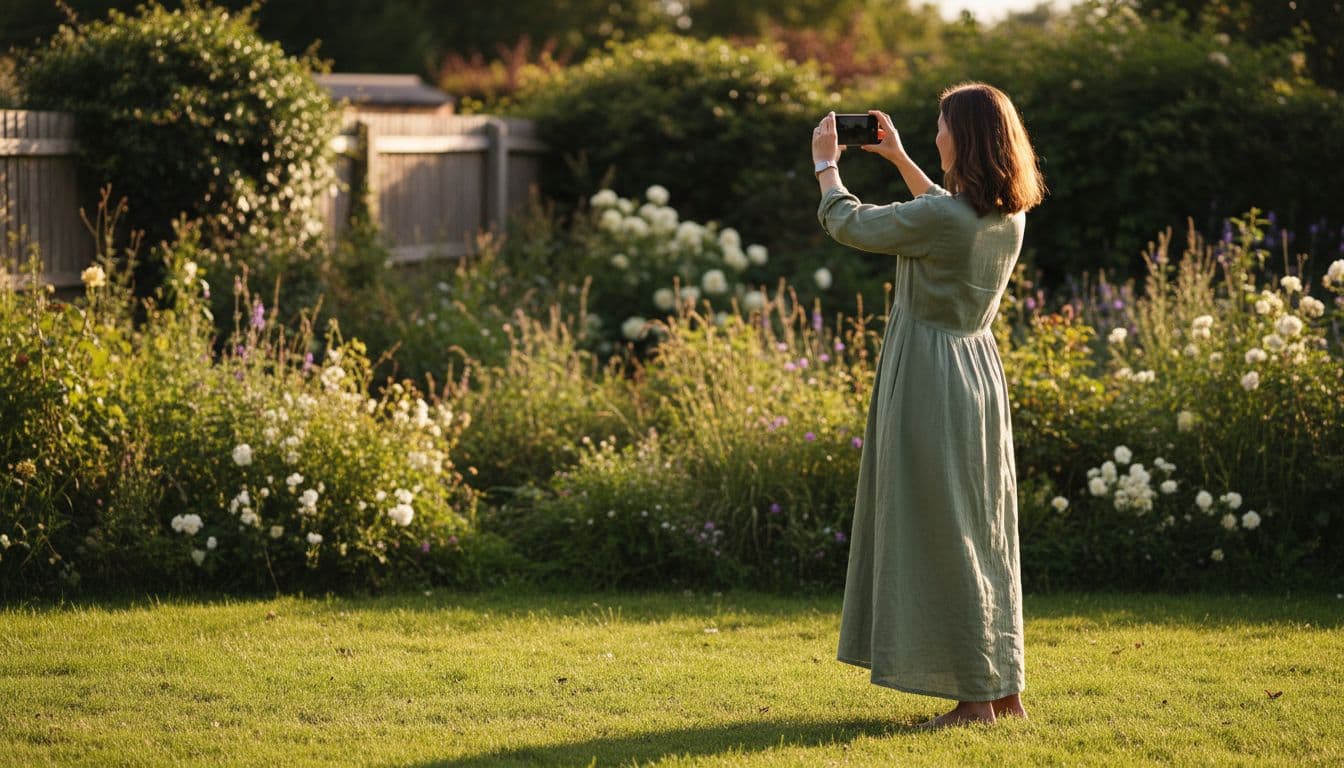
AI garden design from photo tools work by treating a single picture of your real garden as the starting point, not a blank canvas. The AI reads the fixed structure already in that photo — your walls, fences, hardscape and sightlines — then generates new planting, paths, furniture and lighting on top of it, so the result still looks like your own outdoor space rather than a stock image. On FlorAI, that whole process runs in about 8 to 12 seconds once you pick a style, which is short enough to try two or three ideas back to back before deciding on anything.
How AI Garden Design From Photo Actually Works
Every AI garden design from photo tool follows roughly the same three-step pipeline, even though the interfaces look different. First, the model reads the photo for structural cues — straight lines from fences and walls, the horizon, and where the ground plane meets vertical surfaces — so it understands the rough shape and depth of the space. Second, it separates what counts as fixed structure, such as boundaries, hardscape and buildings, from what counts as changeable content, mainly planting, ground cover, furniture and light fixtures. Third, it generates a new image that keeps the fixed structure in the same position and perspective while replacing the changeable content according to the garden style you picked.
That separation is the entire point. A tool that just pastes a generic garden photo over yours is not doing garden design, it is running a filter — the result has nothing to do with your fences, your slope or where your patio actually sits. FlorAI's AI Garden Design features are built around the structure-preserving version of this, precisely so the design you get back is something you could actually build in your own space, not a nice picture that leaves you starting from zero again.
What to Shoot: Getting a Photo the AI Can Actually Use
The single biggest lever you control is the photo itself. A clear, well-framed shot gives the AI more real structure to work with and produces a design that fits your space; a rushed one gives it less to go on, and the result drifts further from reality. A few habits make a real difference:
- Shoot in daylight, not direct midday sun. Flat, even light — overcast or early evening — shows the ground plane and boundaries clearly, without the deep shadows that hide corners and steps.
- Use your phone's standard lens, not the ultra-wide. Lenses in the roughly 14–24mm equivalent range show visible barrel distortion at the edges of the frame, curving fences and paths that are actually straight; a standard 1x lens keeps proportions closer to true.
- Frame the whole boundary, not just the pretty corner. Back up until the fence lines, walls or hedges on both sides are inside the shot, using the rule of thirds as a rough guide rather than centering everything.
- Shoot from standing height, roughly where you would actually stand or sit. A design generated from a ladder shot or a low crouch will not match how you experience the finished space.
- Include the ground in front of you. Cropping out the near foreground removes the depth cues the AI uses to judge scale, which is often why a generated path or bed ends up the wrong size.
What the AI Keeps From Your Photo
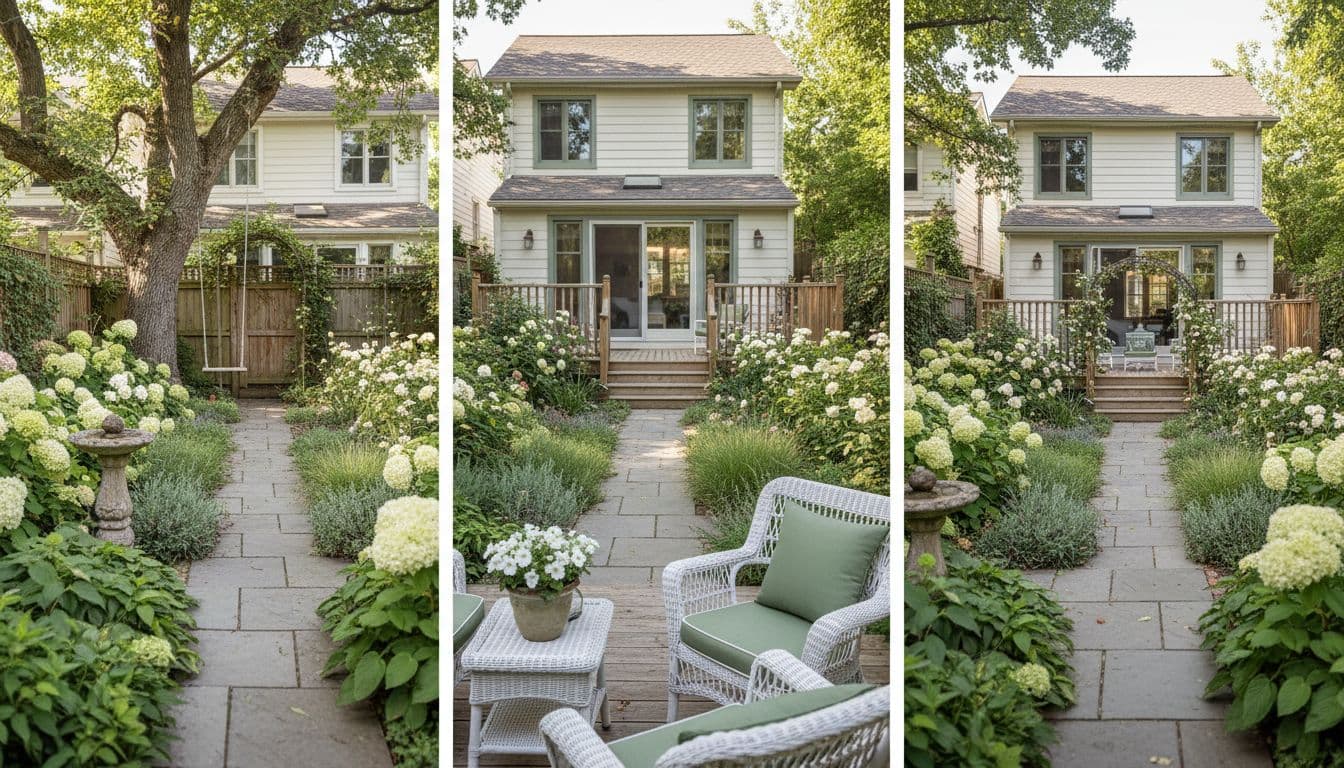
Understanding what stays fixed helps you predict the result before you even generate it. A structure-preserving tool keeps: the position and height of walls, fences and existing hedges; hard boundaries like a house wall, garage or shed; permanent hardscape such as a patio slab, existing steps or a retaining wall; and the camera's own perspective — the vanishing point, horizon line and angle you shot from. It also tends to keep the general sun direction it can infer from shadows in your original photo, which is why a design generated from a shot with hard shadows can still show a similar light quality once the planting changes.
This is the practical reason a photo-based tool is more useful for planning than a rendering built from scratch. Because the boundaries in the output match the boundaries in your garden, you can measure against what you already have — how far a new bed sits from the fence, how wide a path really is — rather than working entirely from guesswork.
What the AI Is Free to Change
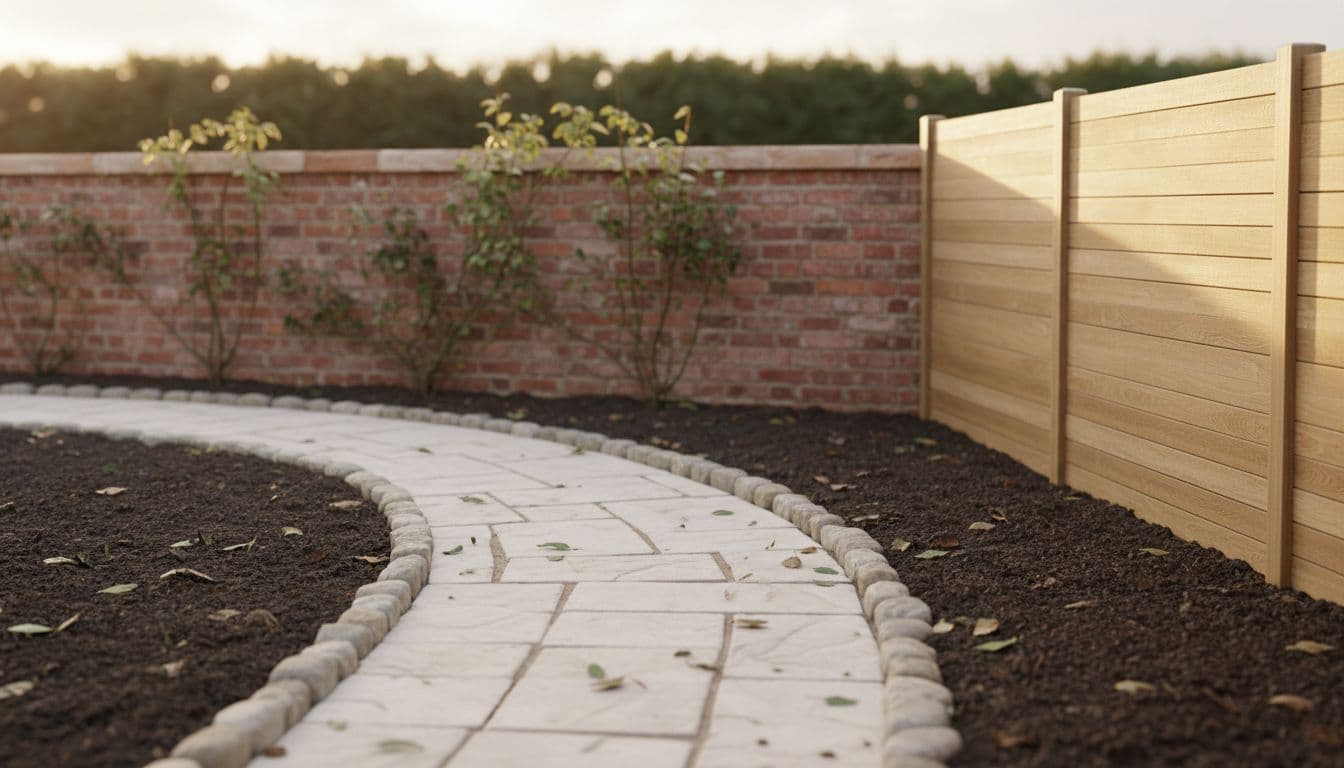
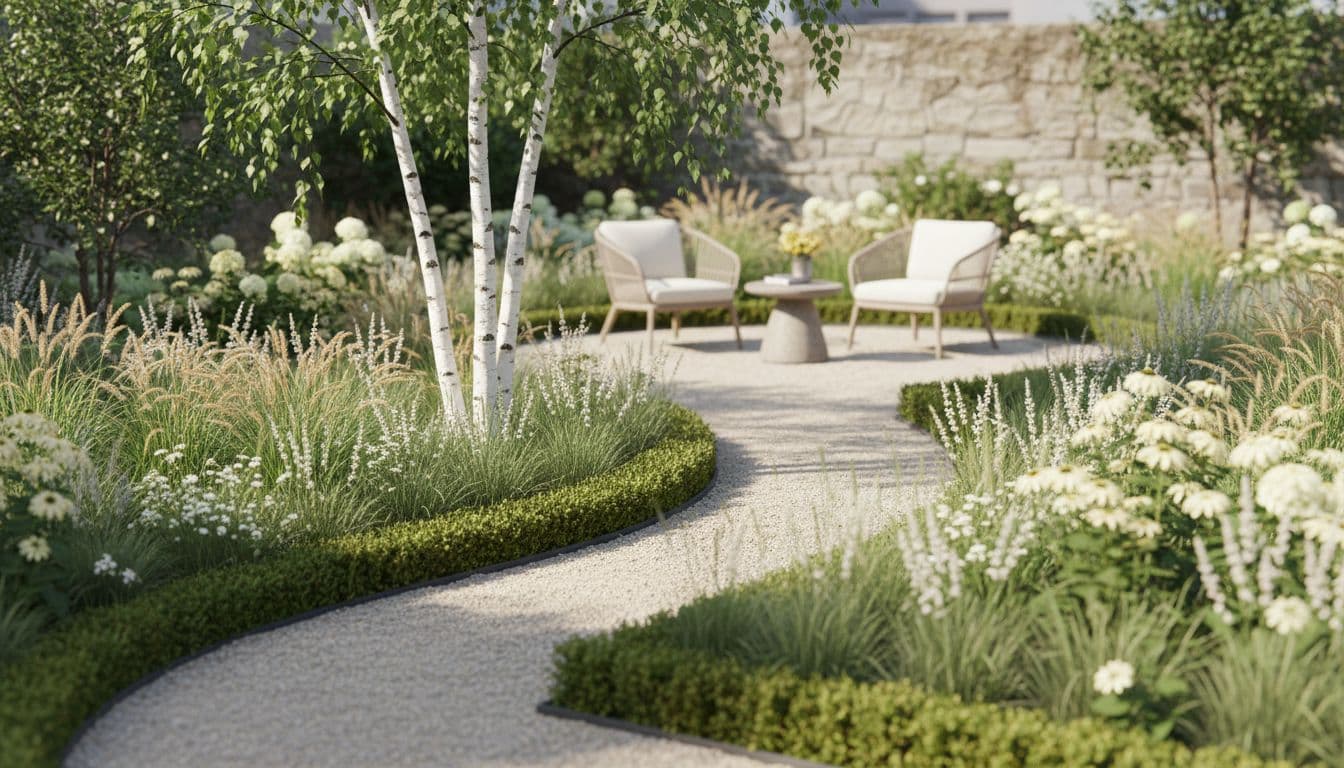
Everything that is not fixed structure is fair game, and this is where the garden style you choose actually does its work. Planting is the biggest change: species, density, height and colour all shift to match modern, cottage, Japanese, Mediterranean or another style from the Garden Style Library. Ground treatment changes too — a plain lawn might become a gravel path, a lawn edged in low box hedging, or a paved terrace, depending on the style. Furniture, planters and lighting are added or swapped, and small non-structural clutter, like an old trampoline or a pile of pots, is usually cleared rather than redesigned around.
One area worth watching closely is plant scale. A young multi-stem birch (Betula utilis var. jacquemontii) looks similar to a mature one in a single still image, but the RHS notes the species can reach around 18m at full size, which is exactly why it is usually placed as a single specimen near a boundary rather than several close together in a small garden. If a generated design shows a tree, ornamental grass or hedge you like, look up its real mature size before assuming the proportions in the image will hold in five years.
How to Read Your First AI Garden Design
The design itself is the easy part; reading it accurately is what actually saves you money and disappointment later. Run through this short sequence on any result you get:
- Use the before-and-after view, not just the new image. FlorAI's before-and-after comparison sits the two photos side by side so you can judge honestly whether your boundaries, structure and proportions really held, instead of just admiring a nice picture.
- Check scale against something fixed. Compare a new tree, hedge or planter against your actual door height, a window or a fence panel — all of which have a real, known size — rather than trusting how big something looks on its own.
- Note what changed and what did not. If a wall moved, a path narrowed unexpectedly, or a step disappeared, the photo probably lacked a clear structural cue in that spot; a straighter, better-lit shot usually fixes it on the next attempt.
- Generate a second style on the same photo. Comparing two outputs from the same source photo — a modern design and a cottage design, say — tells you far more about which changes are structural and which are just style choices.
- Write down the plant and material names the design implies, then confirm each one is realistic for your climate before treating the image as a shopping list.
Try it on your own garden photo
Upload one photo of your outdoor space and get a free AI garden design from FlorAI in seconds, on iPhone, Android or the web.


Version 1.1.1 · 132 MB
Common Photo Mistakes That Confuse the AI
A handful of avoidable habits account for most disappointing results, and none of them require better equipment to fix:
- Shooting straight into the sun. A backlit garden turns most of the frame into silhouette, stripping away exactly the structural detail the AI needs.
- Photographing at night or in deep dusk. Low light hides boundaries and hardscape almost entirely, leaving very little real structure to preserve.
- Cramming two garden zones into one frame. A shot that tries to capture the patio and the far lawn at once usually compresses both badly; photograph one zone properly and generate a second design for the other.
- Standing too close with an ultra-wide lens. Anything nearer than about a metre from an ultra-wide camera exaggerates size and curves the edges of the frame, distorting exactly the fences and paths you want kept accurate.
- Uploading a heavily edited or filtered photo. Strong colour filters and crops that remove the ground plane both reduce the structural information the AI has to work with.
What to Do After You Have a Design You Like
A finished AI garden design is a concept, not a construction plan, so the next steps matter as much as the image itself. Start by confirming that any suggested plants suit where you actually live: the USDA Plant Hardiness Zone Map, updated in 2023 with data from more than 13,000 weather stations, is a free way to check whether a plant will survive your winters before you buy it. If you are gardening in the UK or Europe, the RHS garden design guidance covers planting distances, soil preparation and the kind of site survey a design image cannot show you.
From there, treat the design as a shopping and planning reference: price the hard landscaping materials it implies, such as gravel, paving or timber edging; get a couple of quotes if the build involves grading, drainage or retaining walls; and buy plants in a size and quantity that matches the mature dimensions you looked up, not the size they appear in the render. For anything structural — a new level change, a wall over about a metre, or drainage work — bring the design to a landscape designer or contractor rather than building from the image alone.
Frequently Asked Questions
Does AI garden design from a photo actually use my real garden, or a generic template?
A properly built tool uses your real photo as structure: it keeps the position of your walls, fences and hardscape from the original image and only changes the planting, paths, furniture and lighting. FlorAI works this way, which is why the shape of your own garden stays recognizable in the result.
What kind of photo works best for AI garden design?
A daylight photo taken with your phone's standard lens, framed to include your whole boundary and some of the ground in front of you, gives the AI the most structure to work with. Avoid the ultra-wide lens, direct backlighting and night shots.
Can the AI get my garden's proportions wrong?
Yes, particularly from a distorted or poorly lit photo. Always check a generated design against something with a known size, such as a door or window, before assuming a new tree, hedge or path is shown at the correct scale.
Do I need to check the plants shown in my AI garden design before I buy them?
Always check them. Look up each suggested plant's mature size and confirm it suits your USDA hardiness zone or local climate before buying, since a design image cannot know your soil or frost dates.
Is one photo enough, or should I upload several?
One clear, well-framed photo is enough to generate a usable AI garden design from photo. If your garden has more than one distinct zone, such as a patio and a separate lawn area, photograph and design each zone separately for a more accurate result.
The Bottom Line
AI garden design from photo works because it treats your photo as real structure to build on, not a background to paste over. Shoot one clear, well-lit photo that shows your whole boundary, let the AI keep your walls, fences and hardscape while it changes the planting and furniture, then read the result against a fixed reference before you trust the scale. Do that, and a design generated in seconds becomes a genuinely useful starting point for a real garden.
If you want to compare this approach against hiring a professional from the start, see AI Garden Design vs Hiring a Landscape Designer, or run any app you are considering through the AI Garden Design Apps Compared checklist. And if you have not tried it yet, the best AI garden design app guide explains what separates a genuinely useful tool from a gimmick.